This post explains how to start using Trust Wallet with Ethereum Classic (ETC).
Creating a New Trust Wallet and Using it With Ethereum Classic
1. Download the Trust Wallet app to your smart phone.
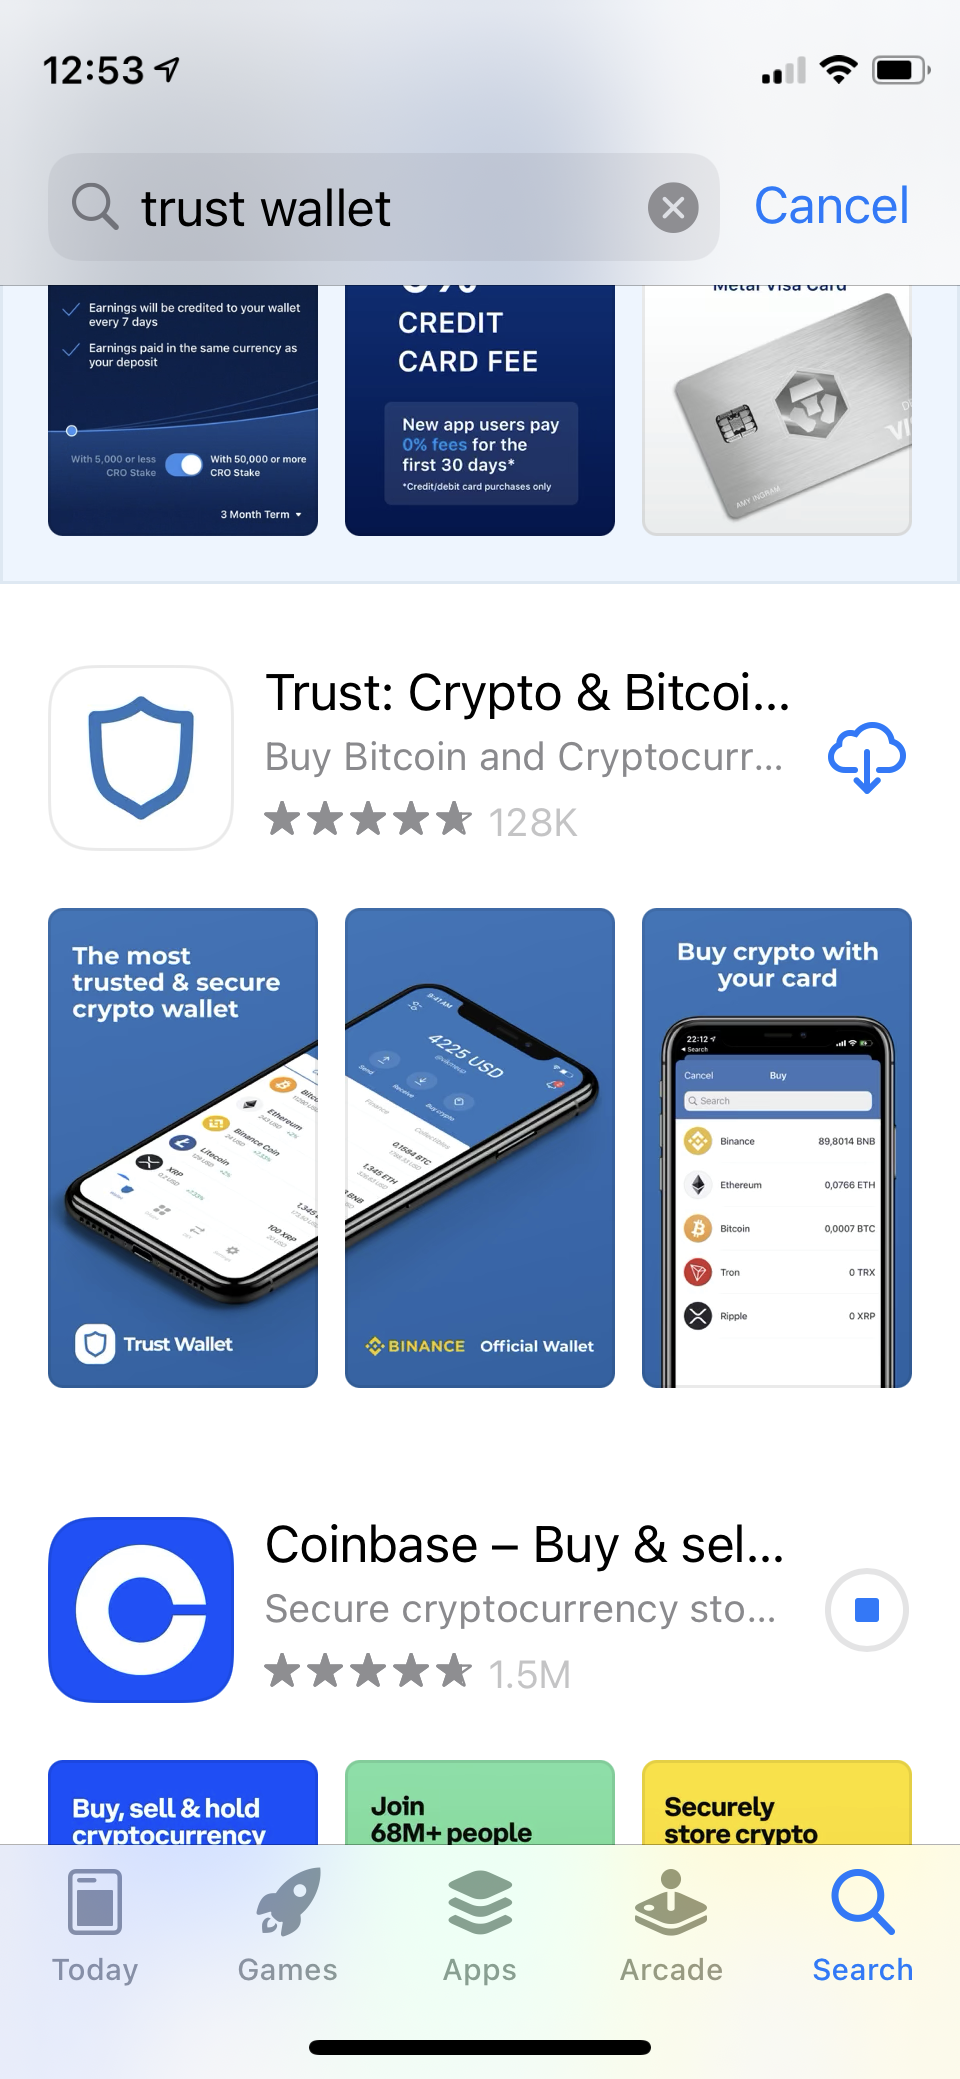
Be careful to check that it is the legitimate “Trust Wallet”. Sometimes there are other wallet apps with similar names.
2. Once you download Trust Wallet, open the app.
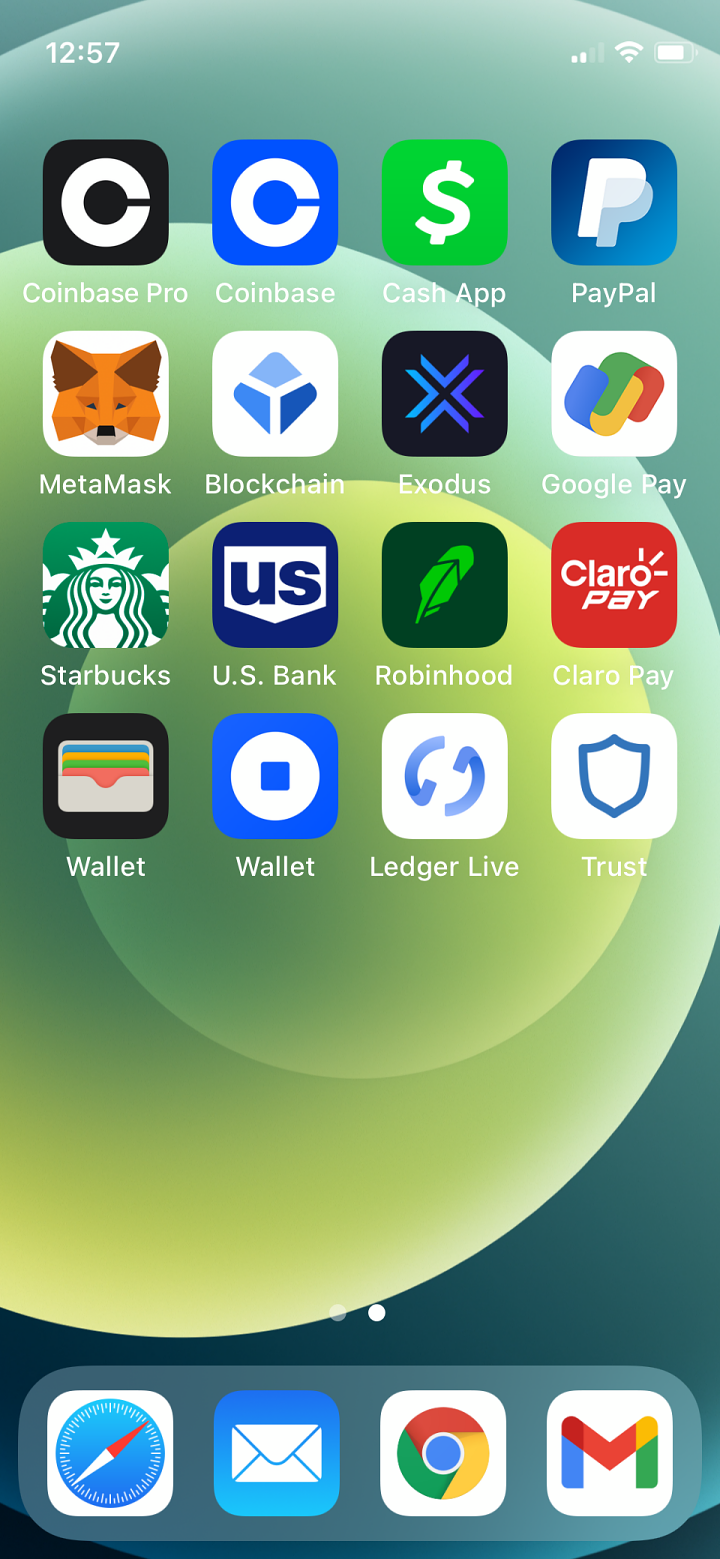
It will be a white icon with a little blue shield. It is usually called just “Trust” on iOS and Android phones.
3. Create a new wallet.

You have the option to create a new wallet from scratch or to upload a 12 word passphrase in case you already have one.
First, we are going to create a new wallet, so press the “Create new wallet” button.
(After this, bellow we will go over the steps to upload an existing wallet.)
4. Back up your wallet.
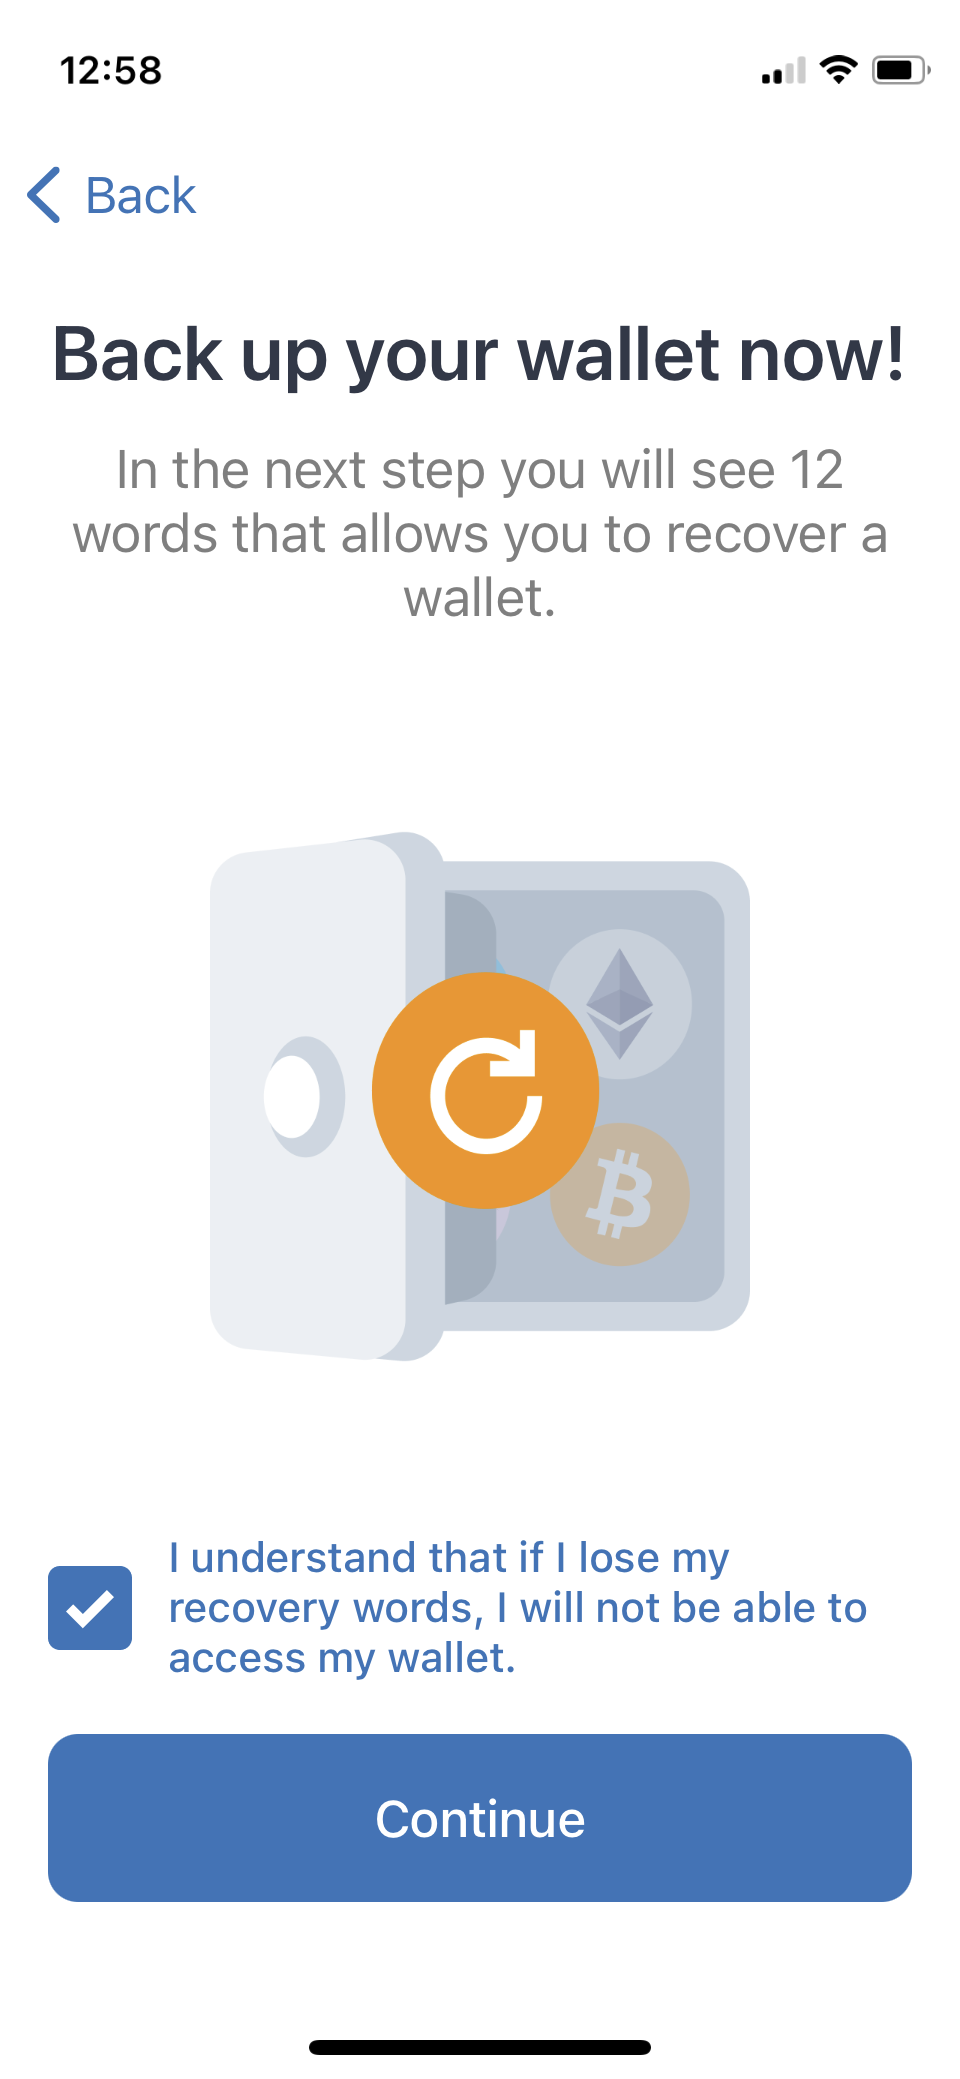
When creating a wallet from scratch, the first thing you need to do is to back up the 12 word passphrase. This is a set of words, in a specific order, that are used to generate the private keys for all your crypto assets.
Click on the checkmark and press “Continue”.
Note: It is recommended that you copy these 12 words in a piece of paper and do not make a screenshot nor store them on iCloud, Google Drive, Dropbox, nor any cloud file storage service. Ultimately, these services can see your passphrase, and this is very insecure.
5. Write down the 12 word passphrase provided.
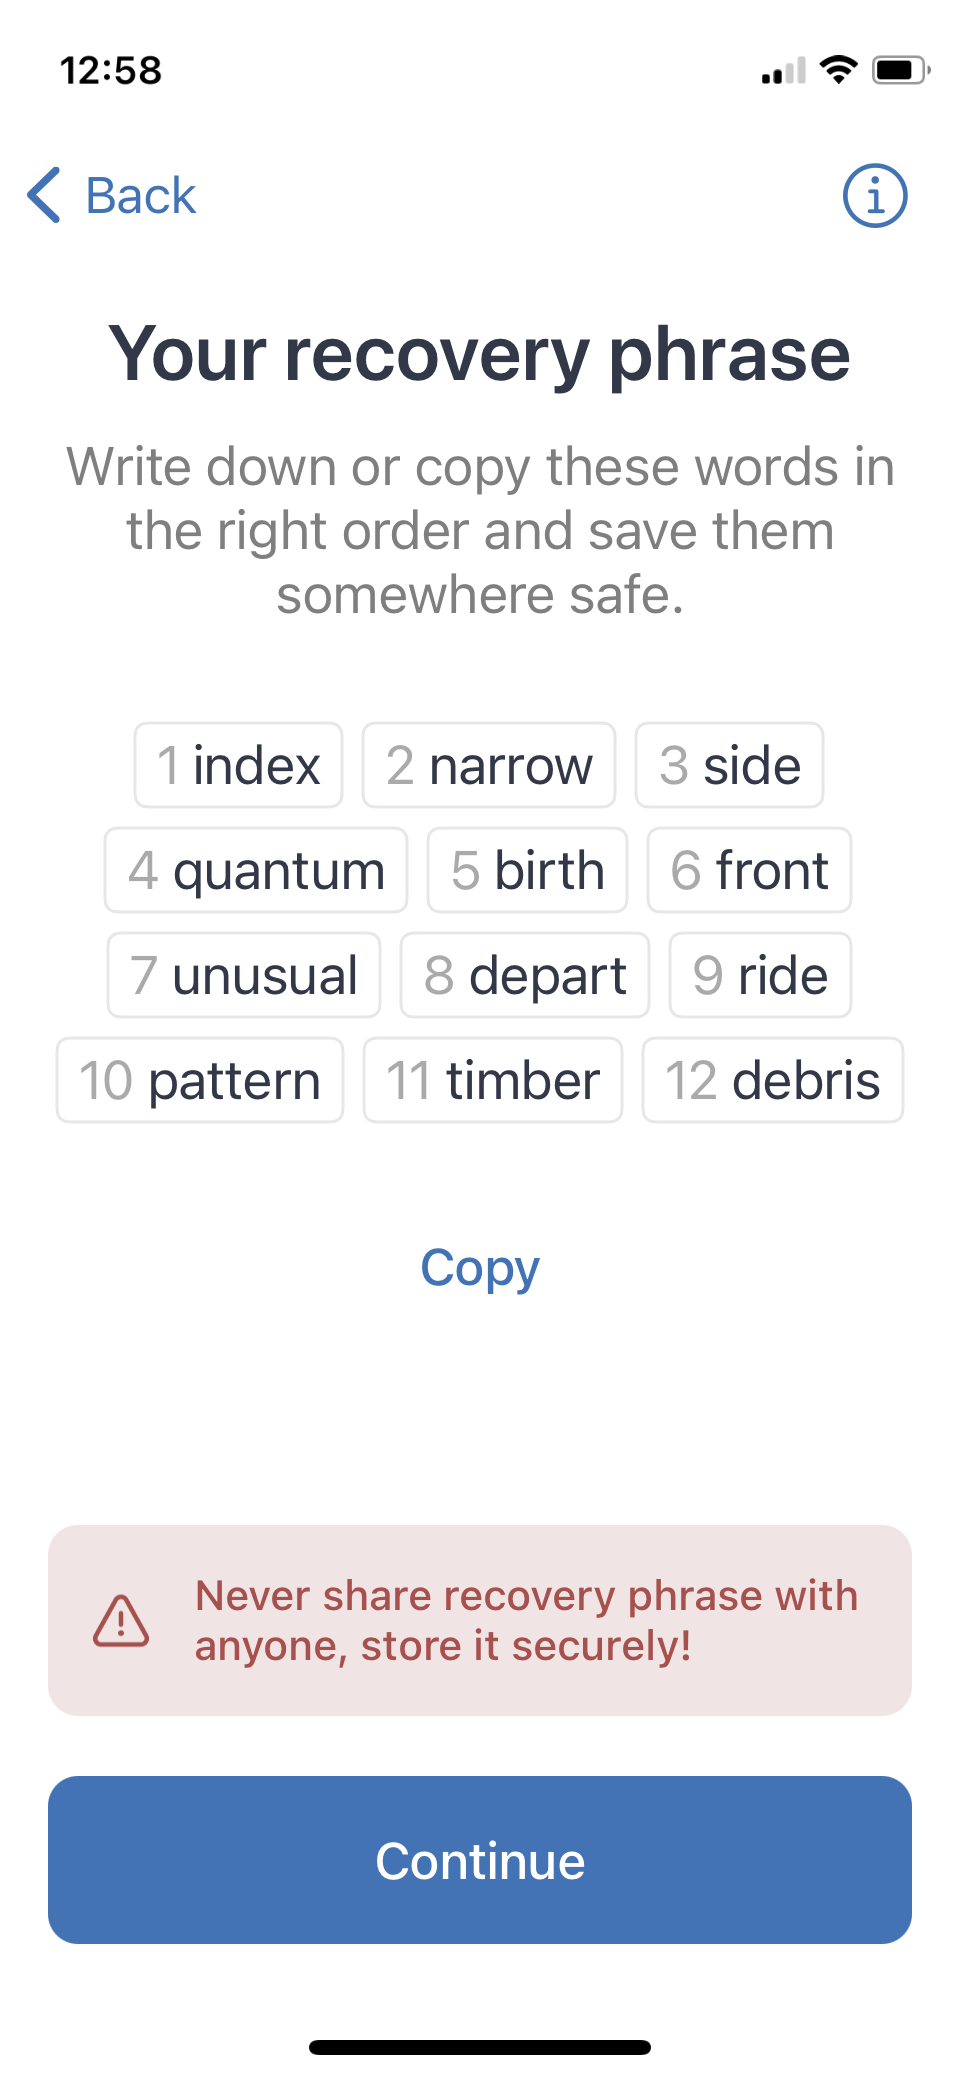
As may be seen above, the words are 12 and are organized in a specific order and numbered. Make sure to copy your 12 word passphrase in the correct order on a paper.
Note: If you copy the words in a different order and forget the correct sequence, then you will no be able to recover your accounts and crypto assets in case you lose your phone and Trust Wallet app.
Important: The 12 word passphrase above is only for this example. Do not use the above passphrase for your own wallet. Trust Wallet will generate one unique passphrase for you!
Press “Continue”.
6. Re-enter the 12 word passphrase.
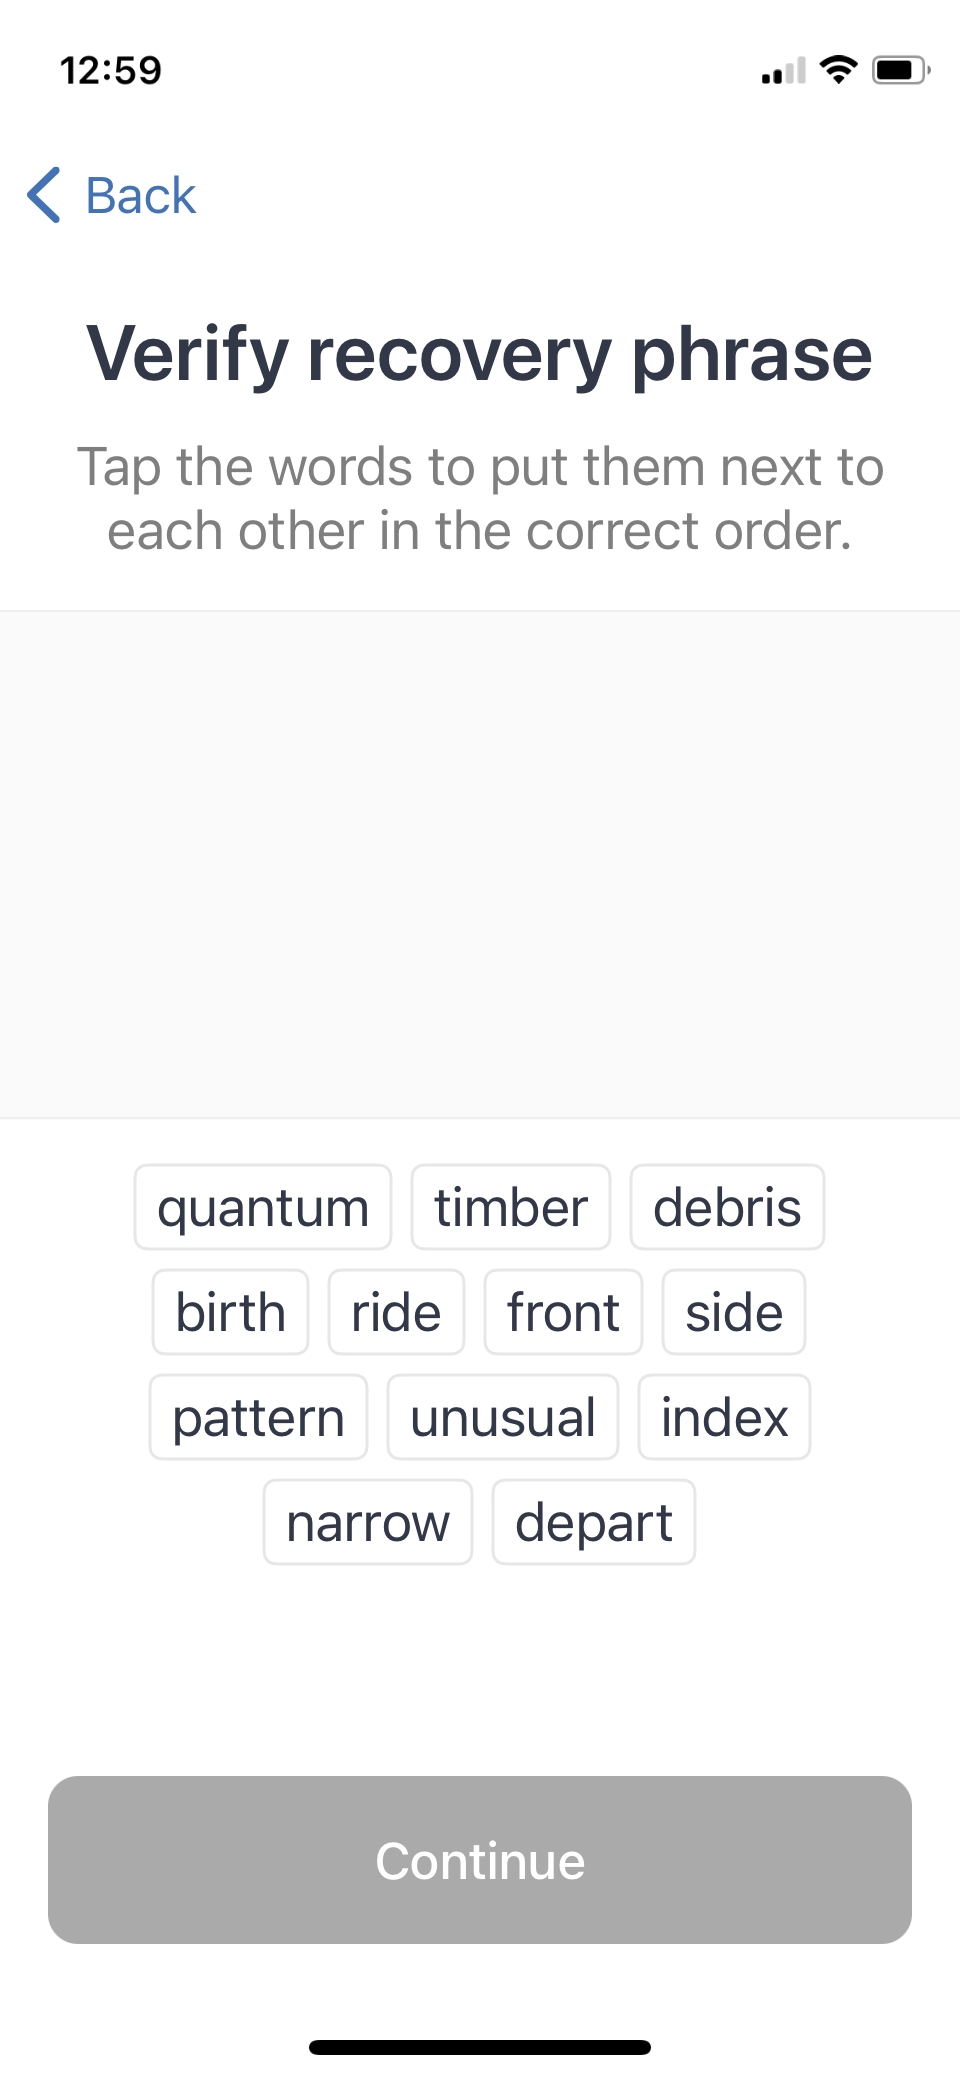
This step is important to confirm that you wrote the 12 words in their correct order. Check where you wrote them and re-enter them by tapping on each word in the same order as provided before to see if you got them right.
7. Verify if the 12 words are in the correct order.
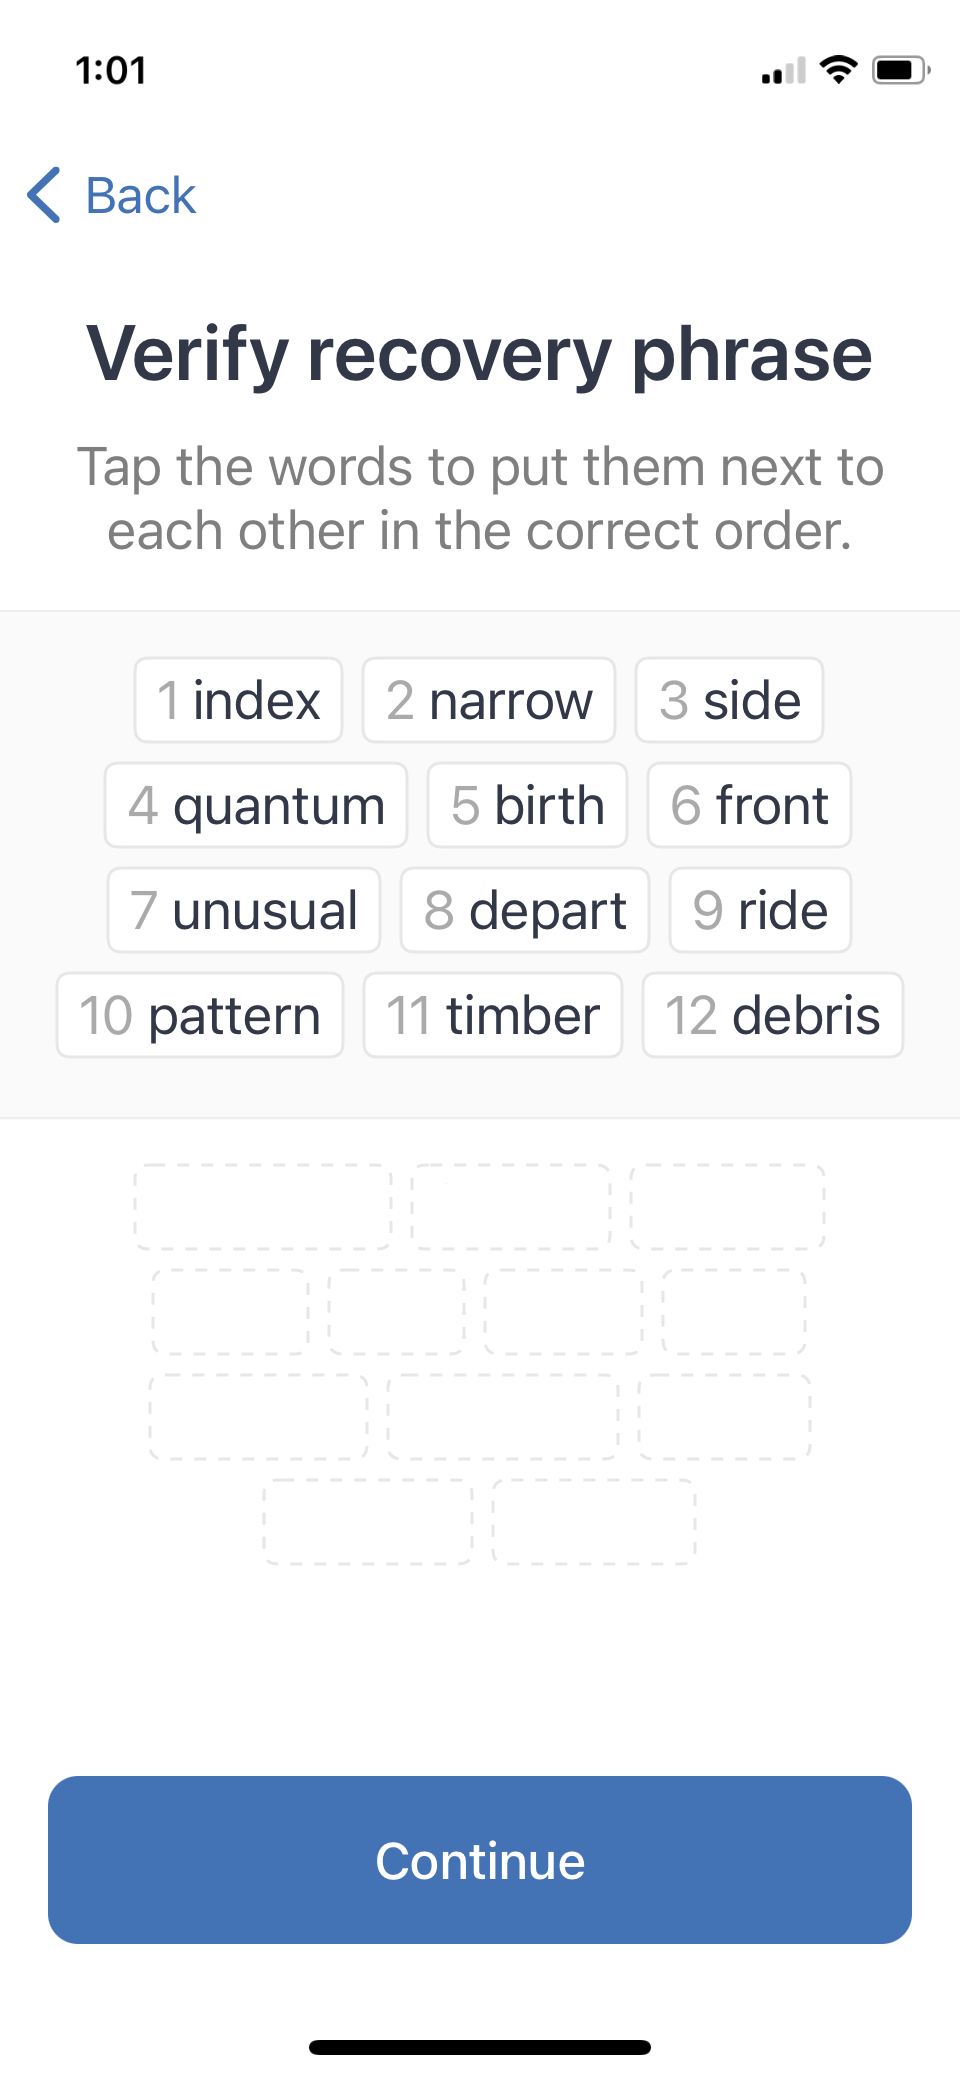
If the continue button below turned blue, it means you entered the 12 word passphrase in the correct order.
If so, press the “Continue” button.
8. Your new wallet is created!
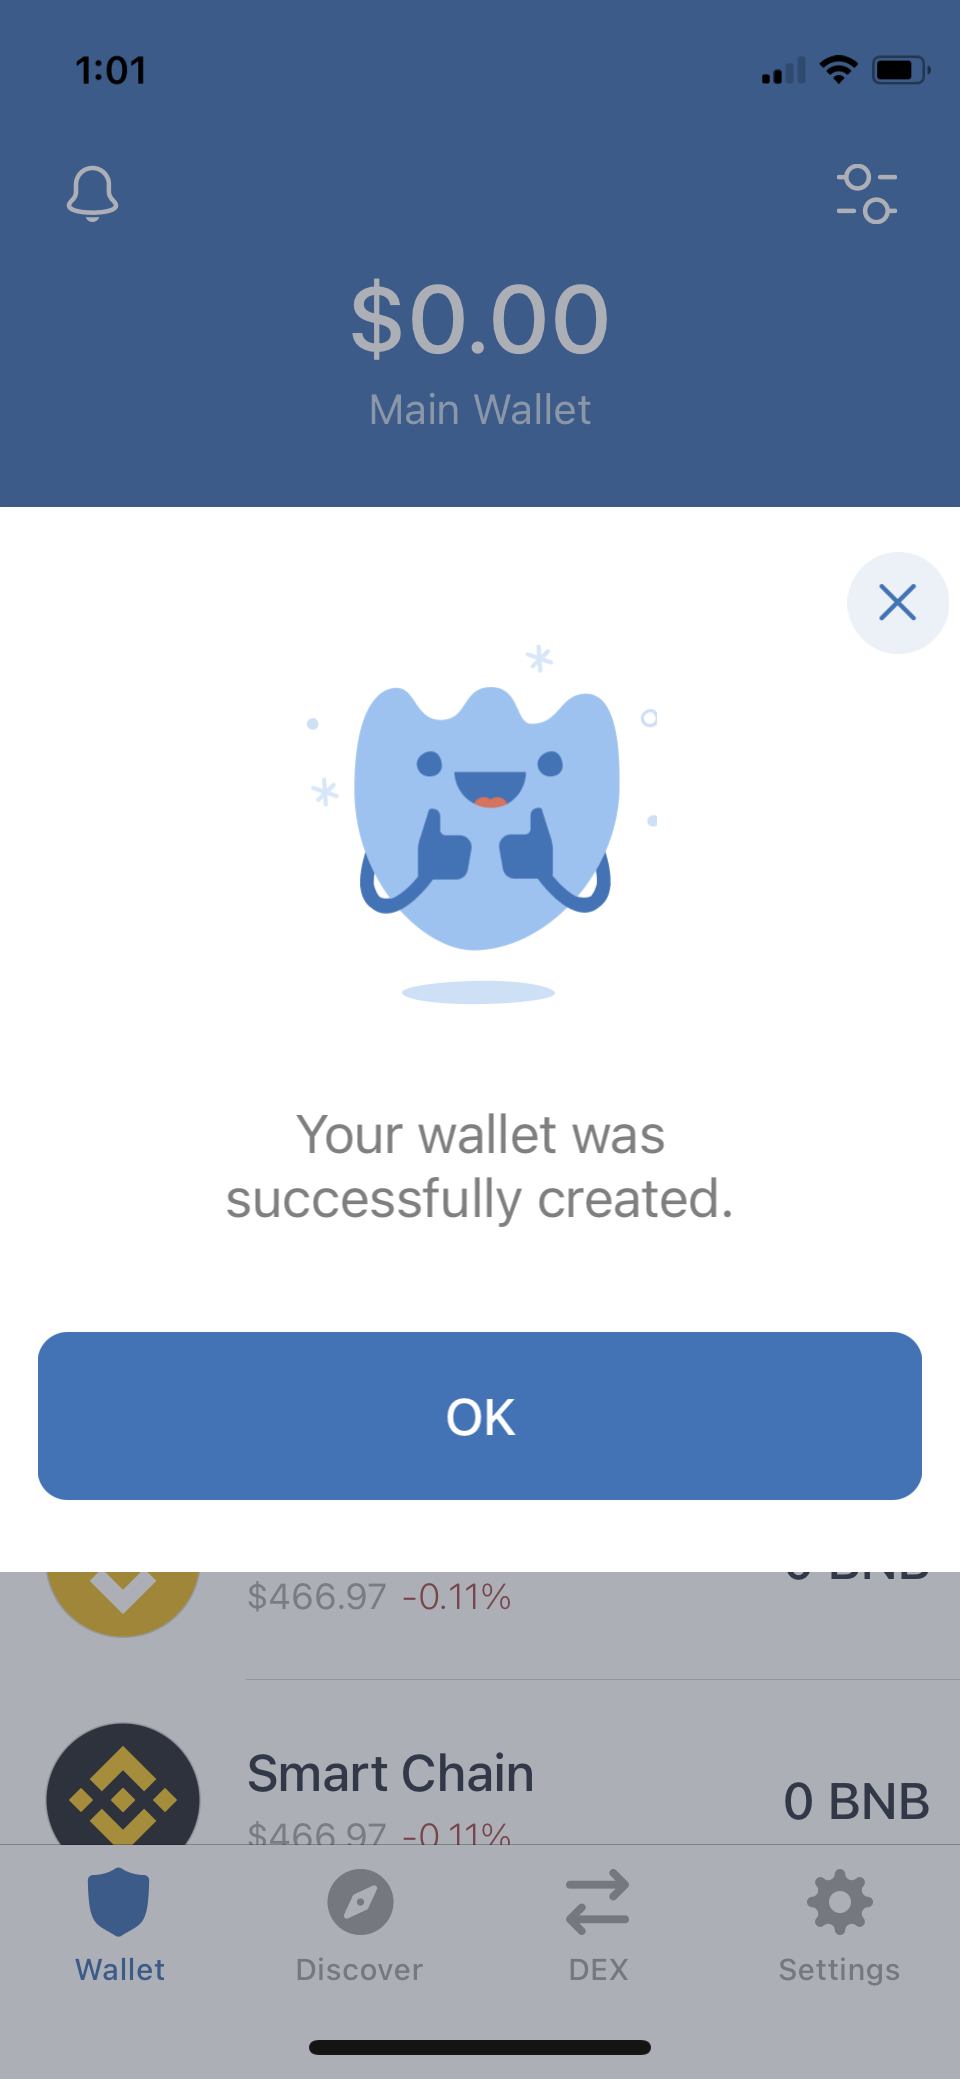
You will see a celebratory message stating that your wallet has been created.
Congratulations! Now press “OK” to see your wallet’s home.
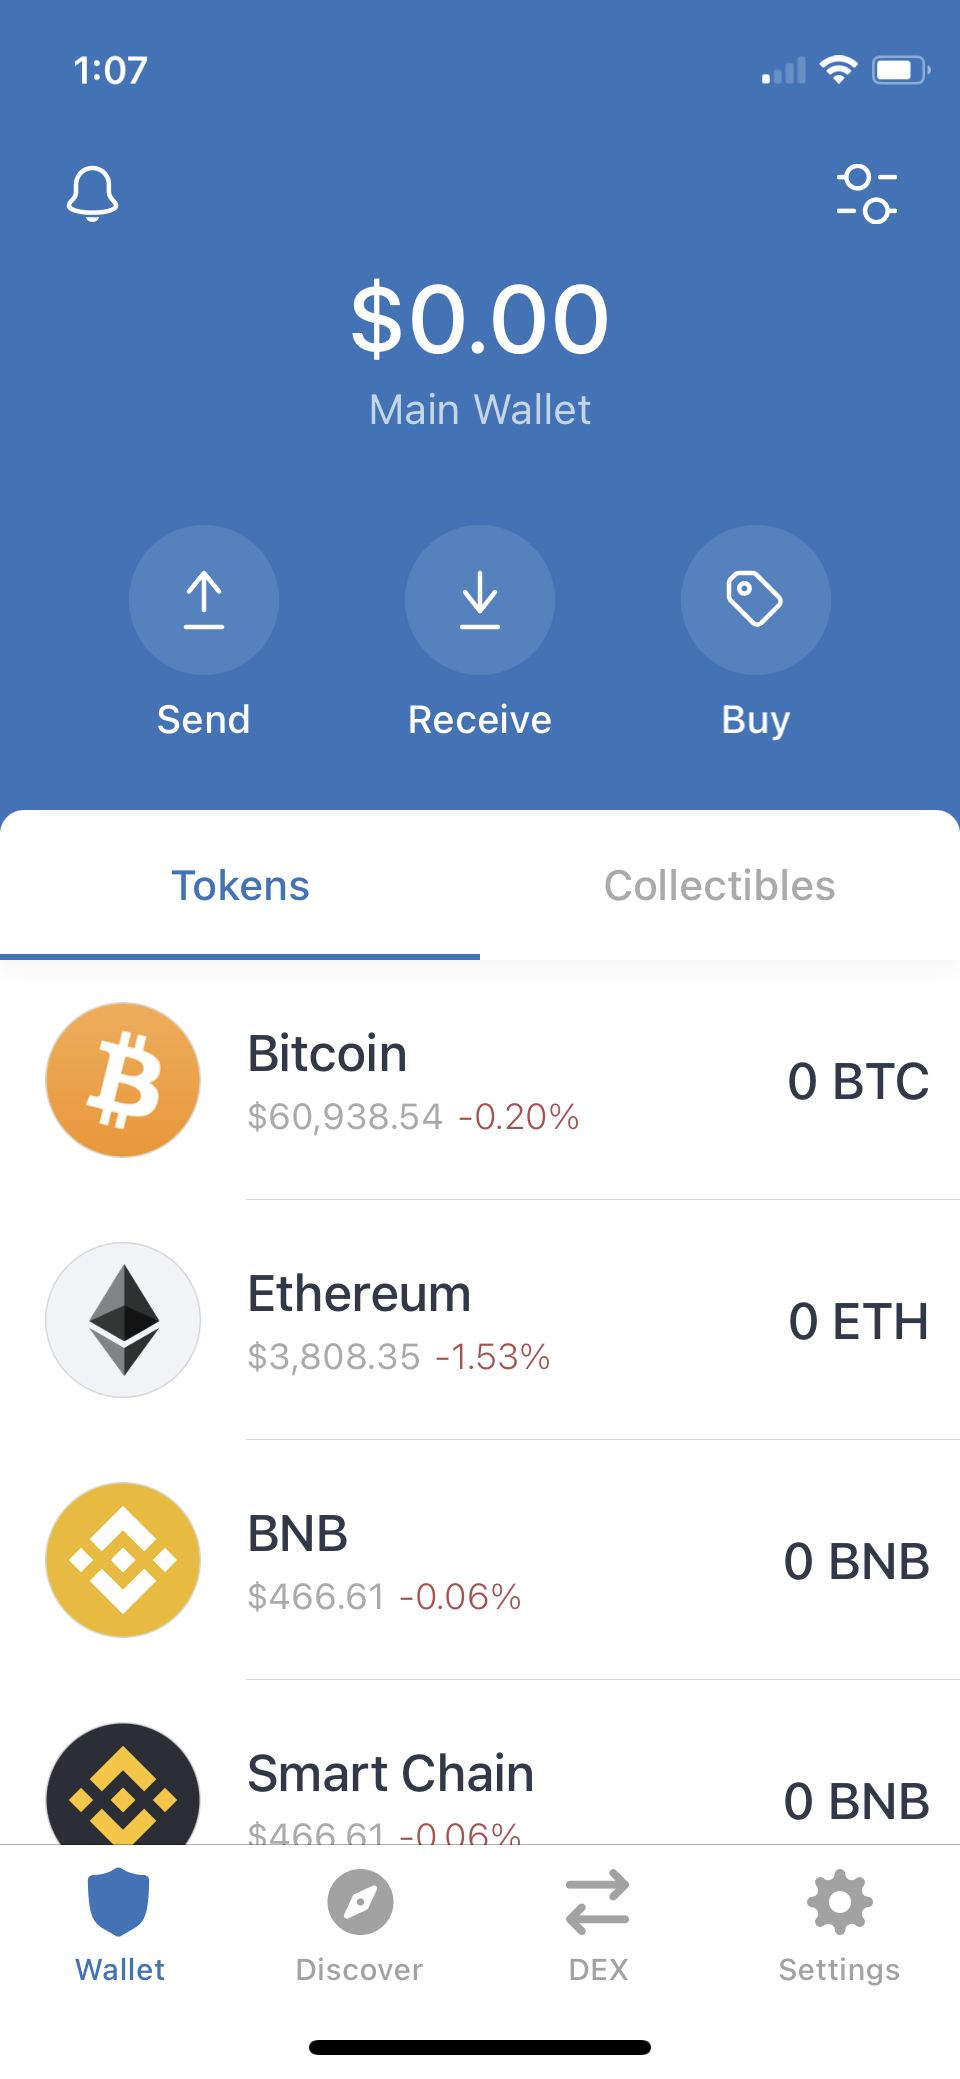
9. Check your new wallet home and options.

You will see an arbitrary list of default assets on your wallet’s home page.
Also, there are options in the upper part of the home to “Send”, “Receive”, and “Buy” crypto assets.
At the bottom, you will see a set of four icons to see your wallet home; discover new crypto assets; exchange using DEX; and the settings section.
At the very top to the right, you will see like a menu icon with an image of sliding knobs. That is where you can select from hundreds of crypto assets to manage on your Trust wallet.
Press that menu to set Ethereum Classic (ETC) as one of the assets on your wallet home.
Note: Your wallet will be called “Main Wallet”, but you can can change the name and even create new wallets on the settings section.
10. See the crypto assets menu.
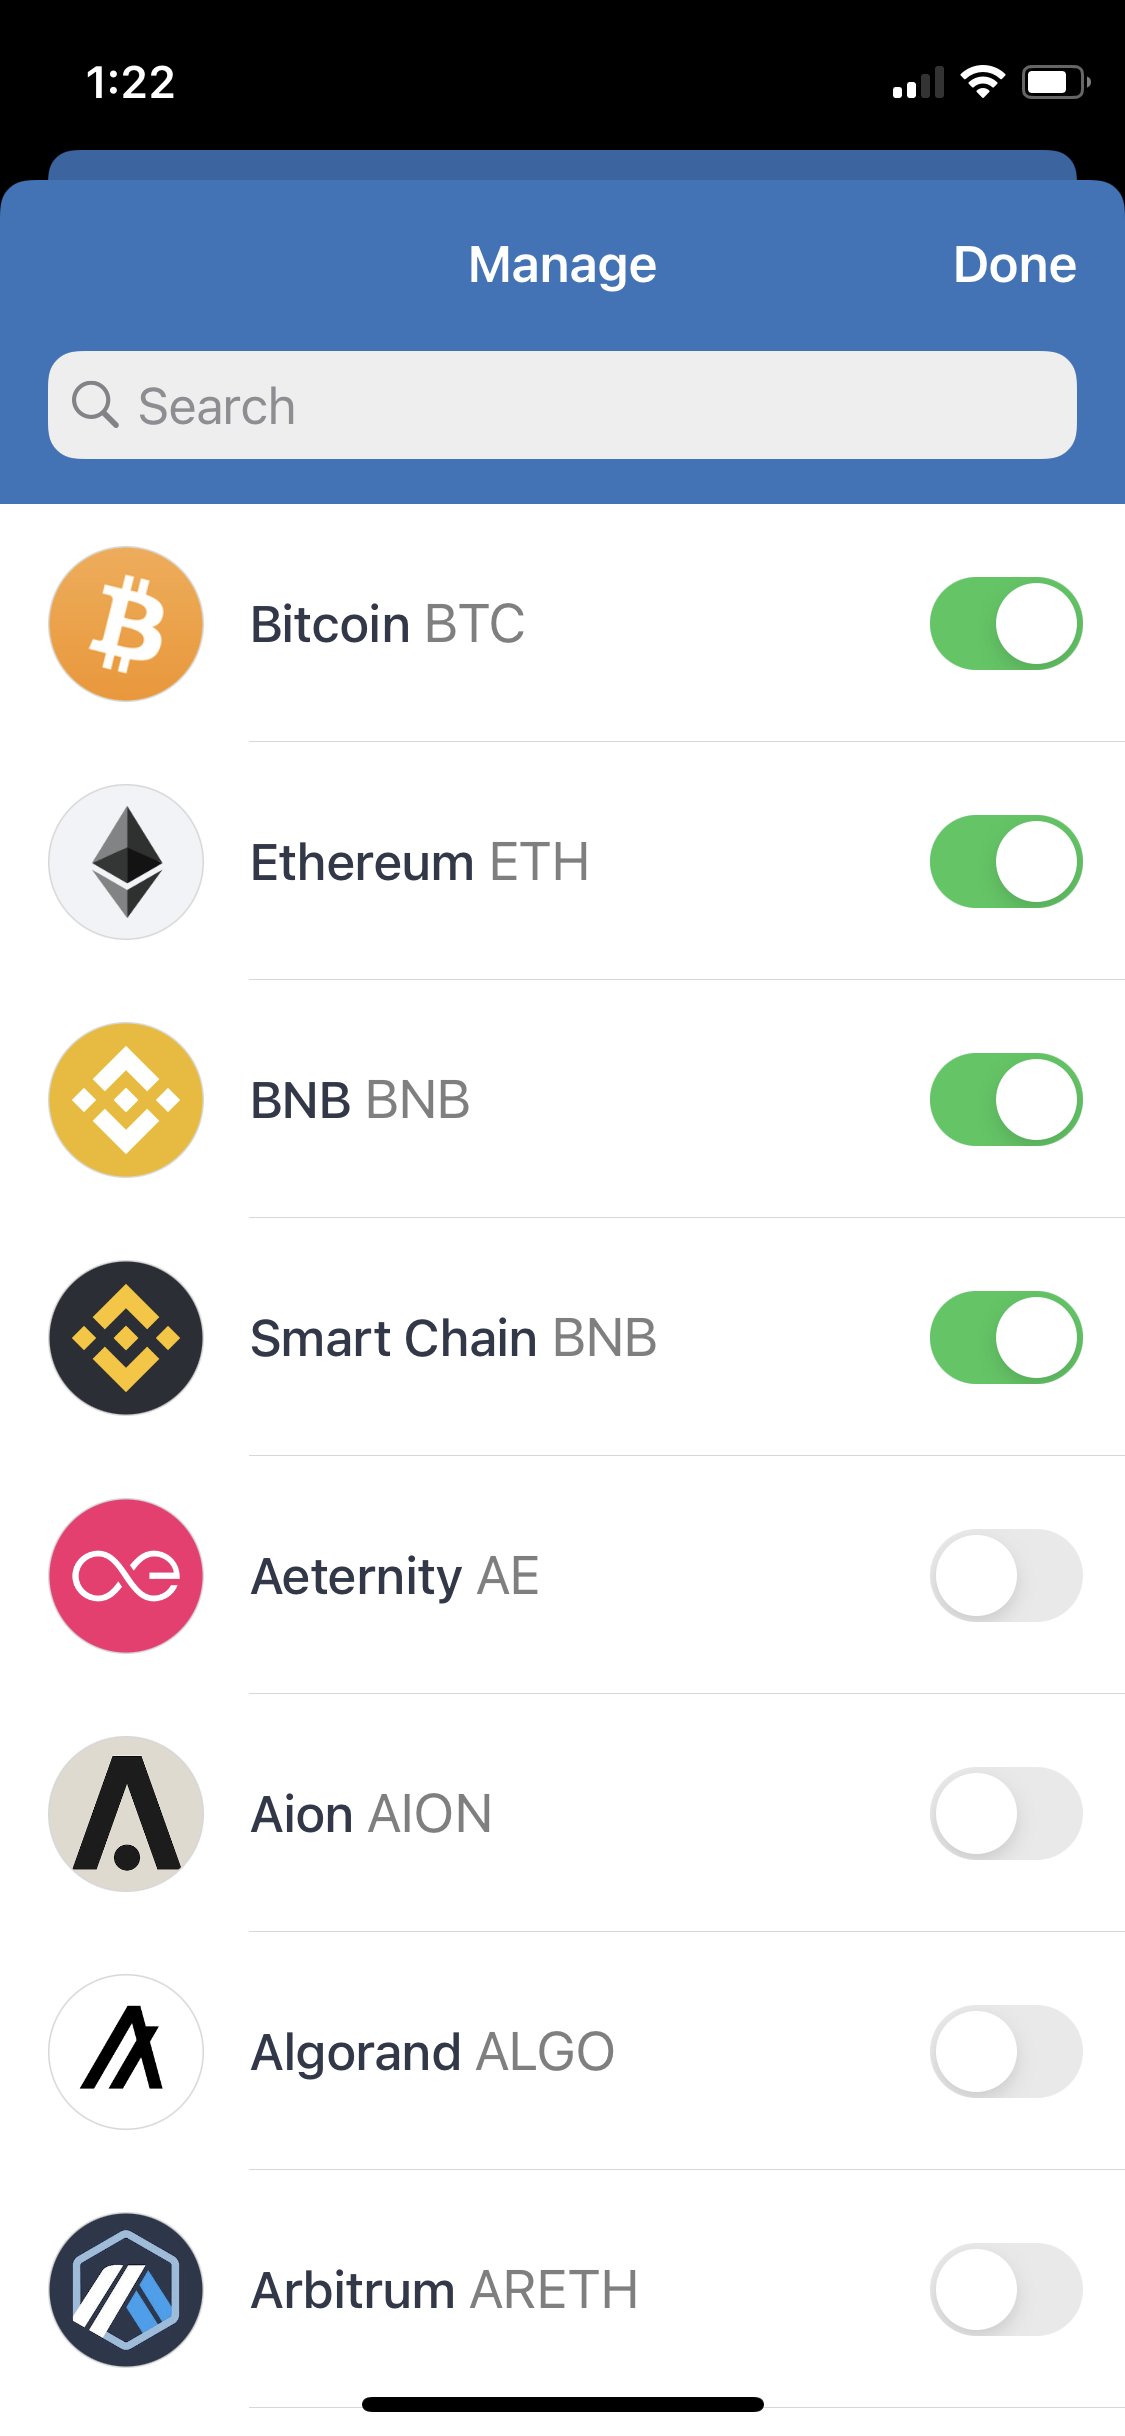
So, when you pressed the crypto assets menu icon at the top right in the previous step, you will see the list of all the crypto assets that are possible to manage on Trust wallet.
You will see the selected ones by default at the top.
Scroll down to find Ethereum Classic.
11. Select Ethereum Classic.
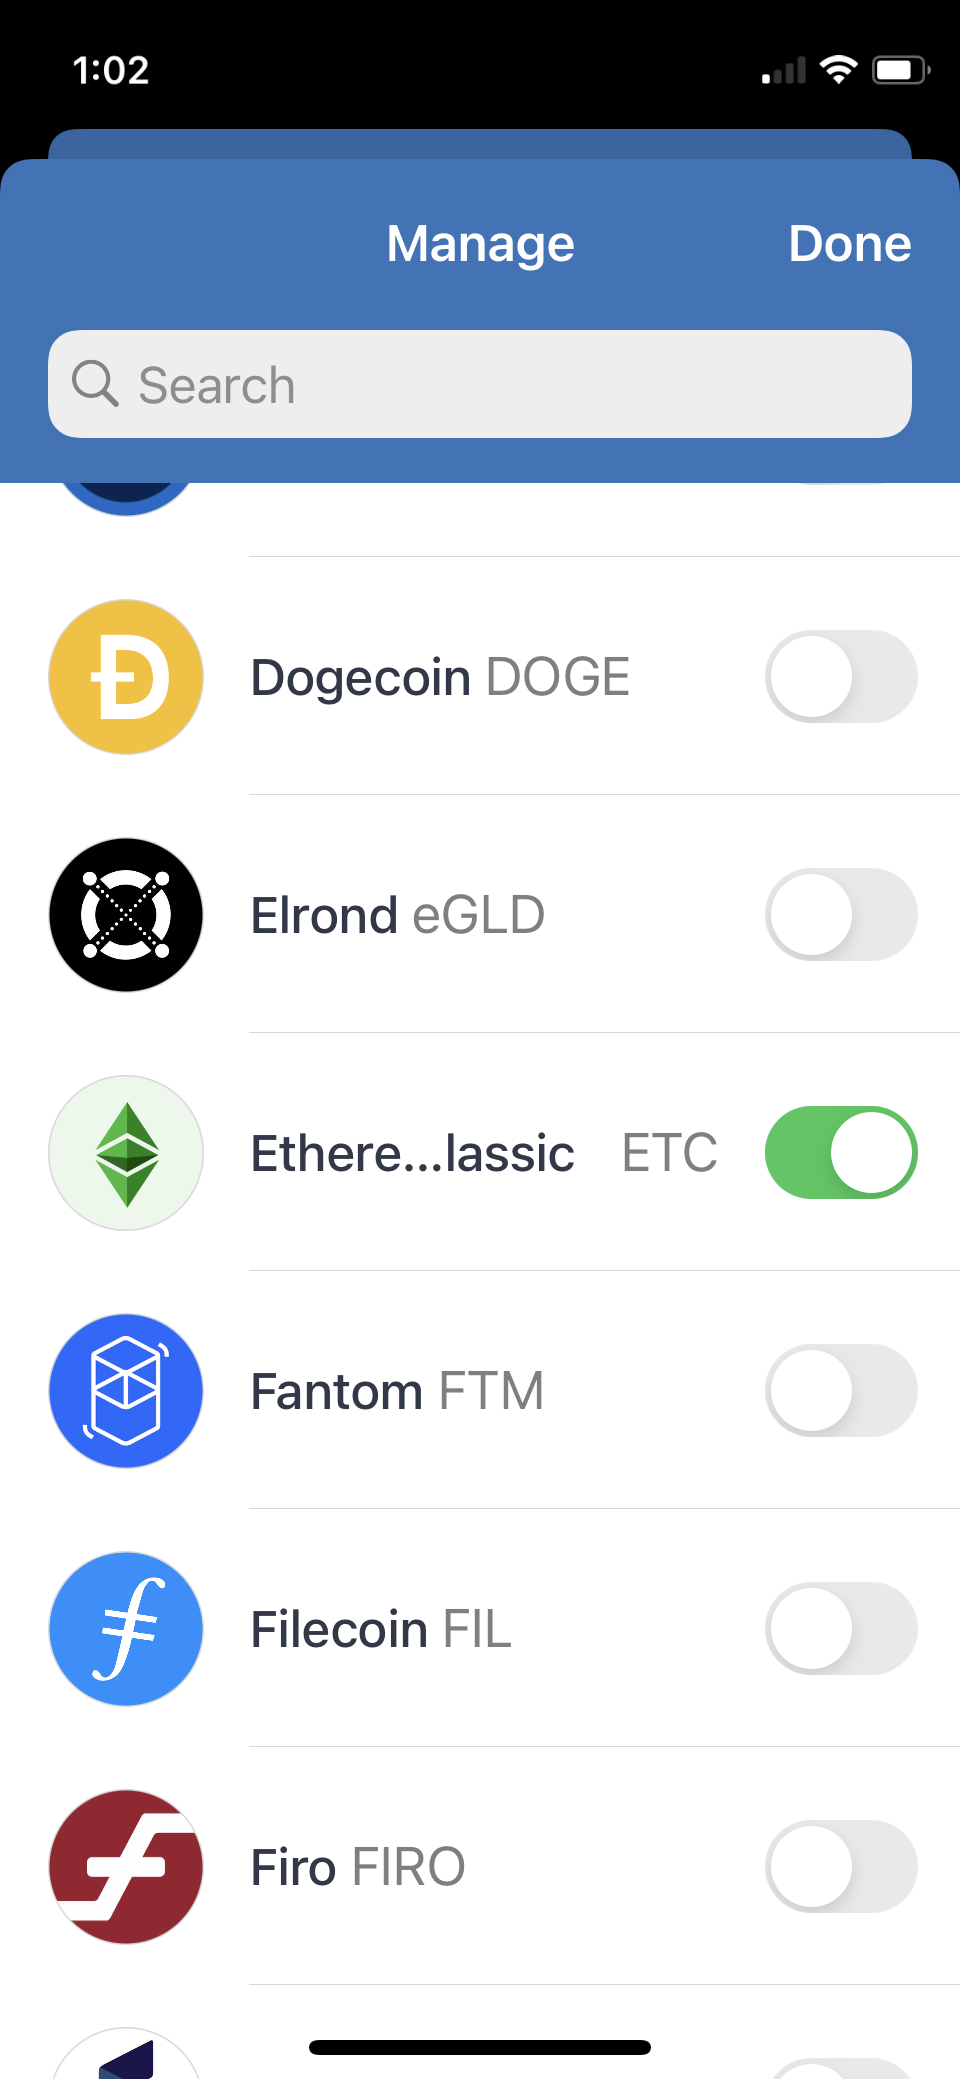
When you scroll down and see ETC on the menu, just press on the ETC knob icon to the right so it turns on with a green background.
This will put ETC on your “Main Wallet” home page!
12. Select and deselect any other crypto asset you want to follow.
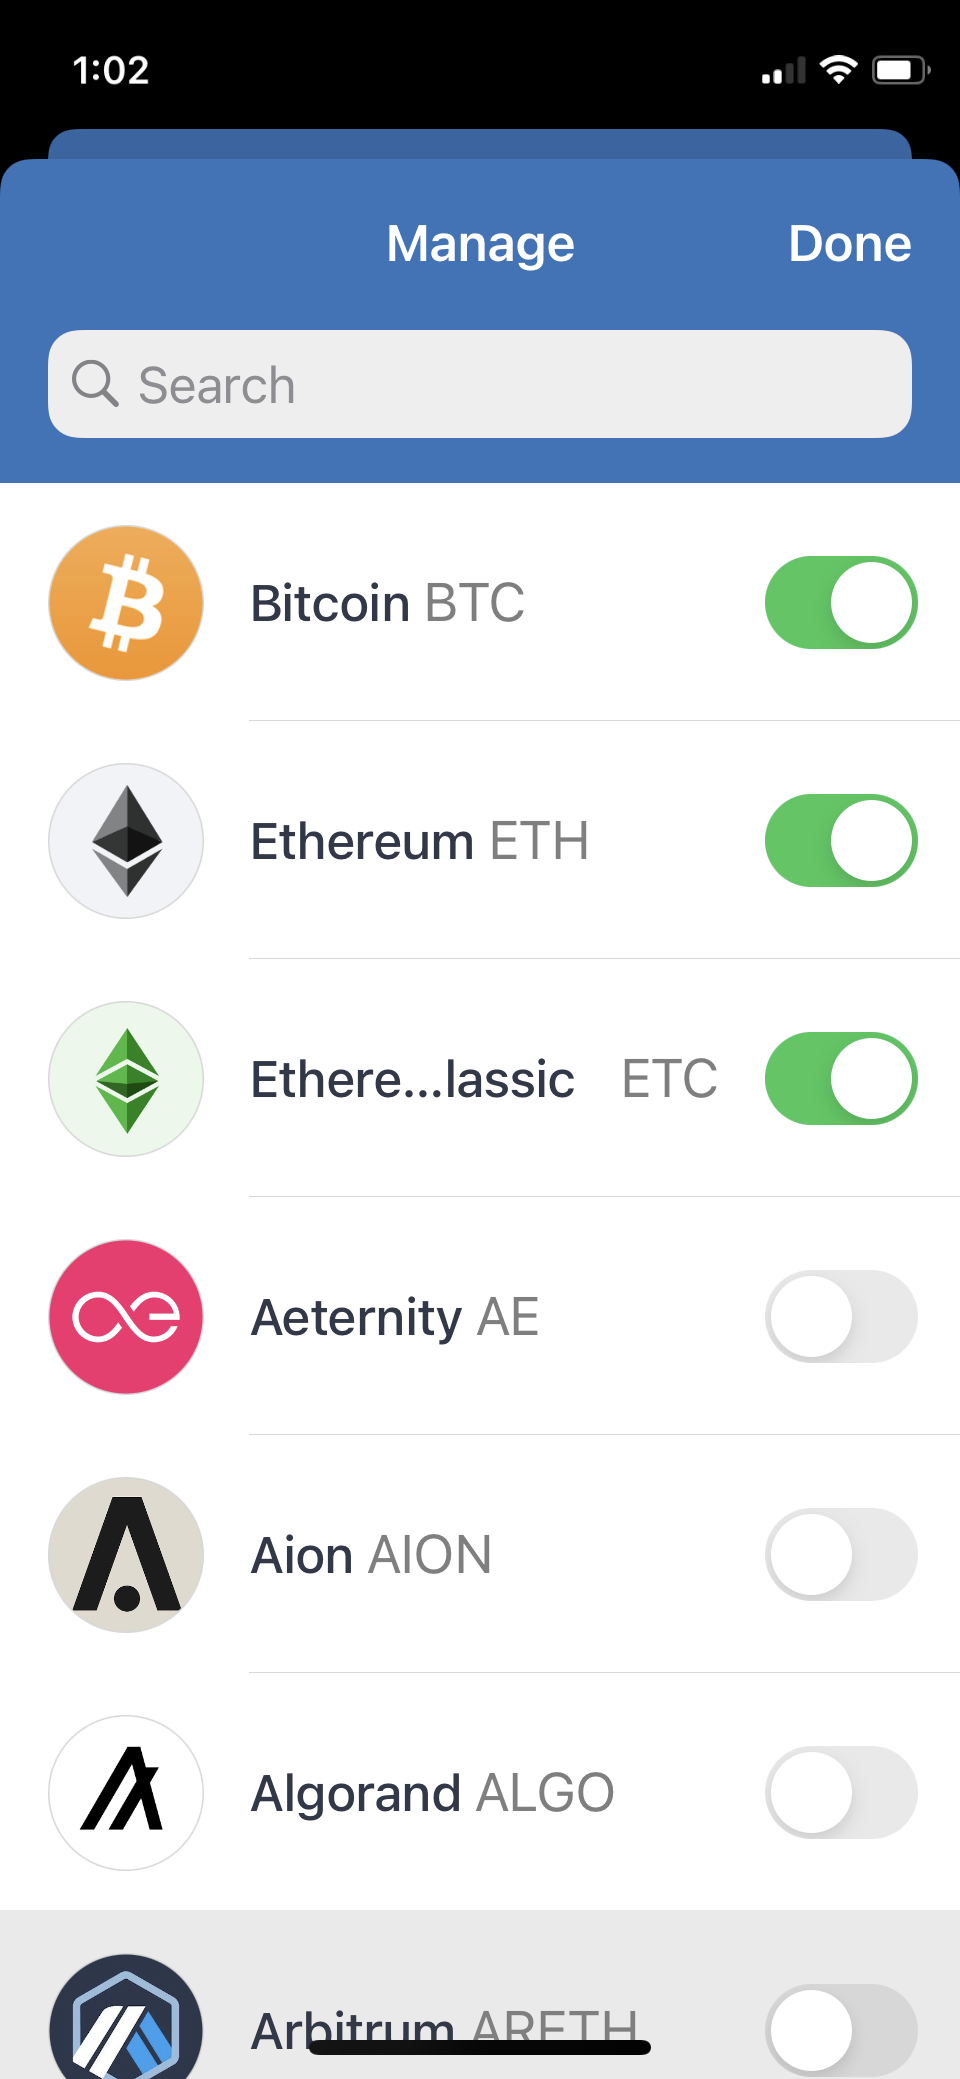
You can select and deselect any assets you want from the list.
When you go back to the top of the screen you will see your selected crypto assets including Ethereum Classic.
For this example, only Bitcoin, Ethereum, and ETC were selected.
13. Go back to your wallet’s home and see ETC!

Now you will see ETC together with the other crypto assets you want to follow. This includes the crypto assets’ names, their latest price, and your current balance.
If you want to play with the app, you can tap on each asset and see their specific screens.
14. Tap on Ethereum Classic to see transaction history, send, and receive options.
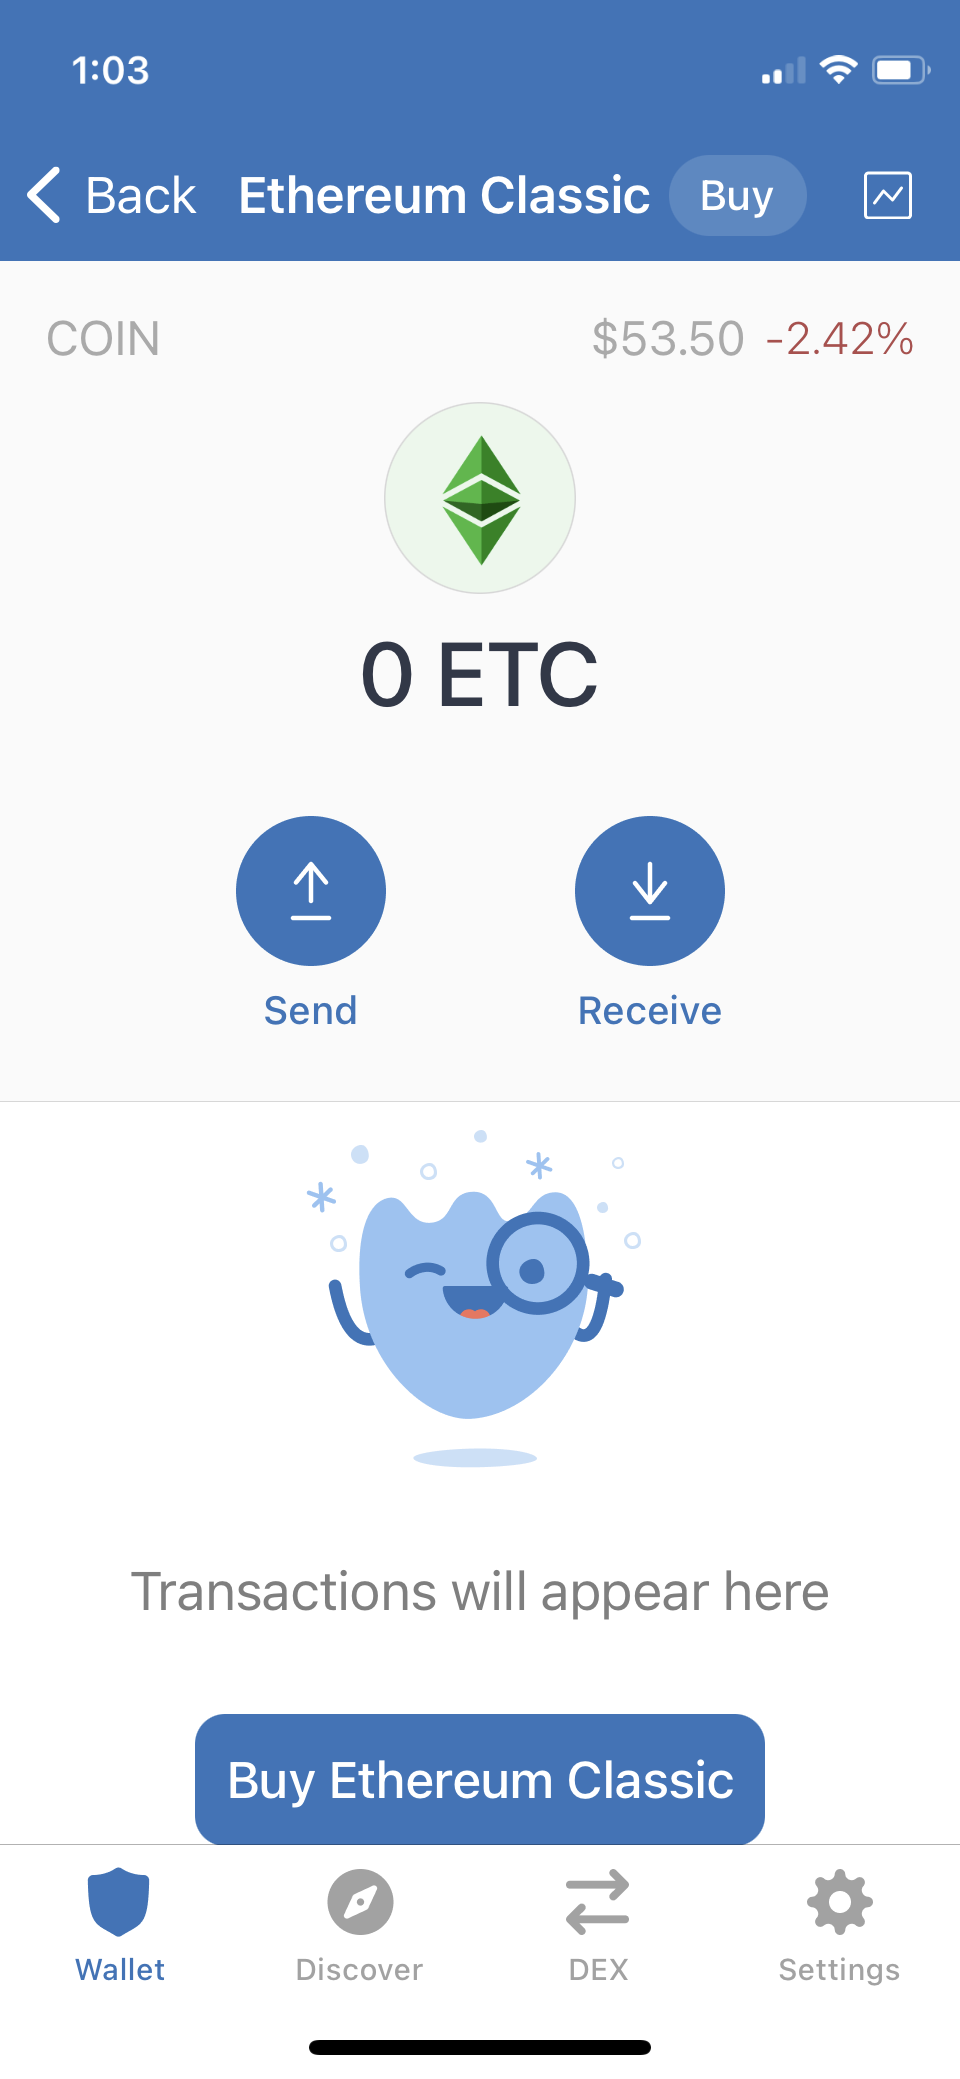
When you tap on ETC specifically, you will see the “Send” and “Receive” options for ETC specifically. You will also see the transaction history of your ETC as you use that account in the Trust Wallet app.
Press on “Receive” to see how you can receive ETC from others.
15. Receive ETC.
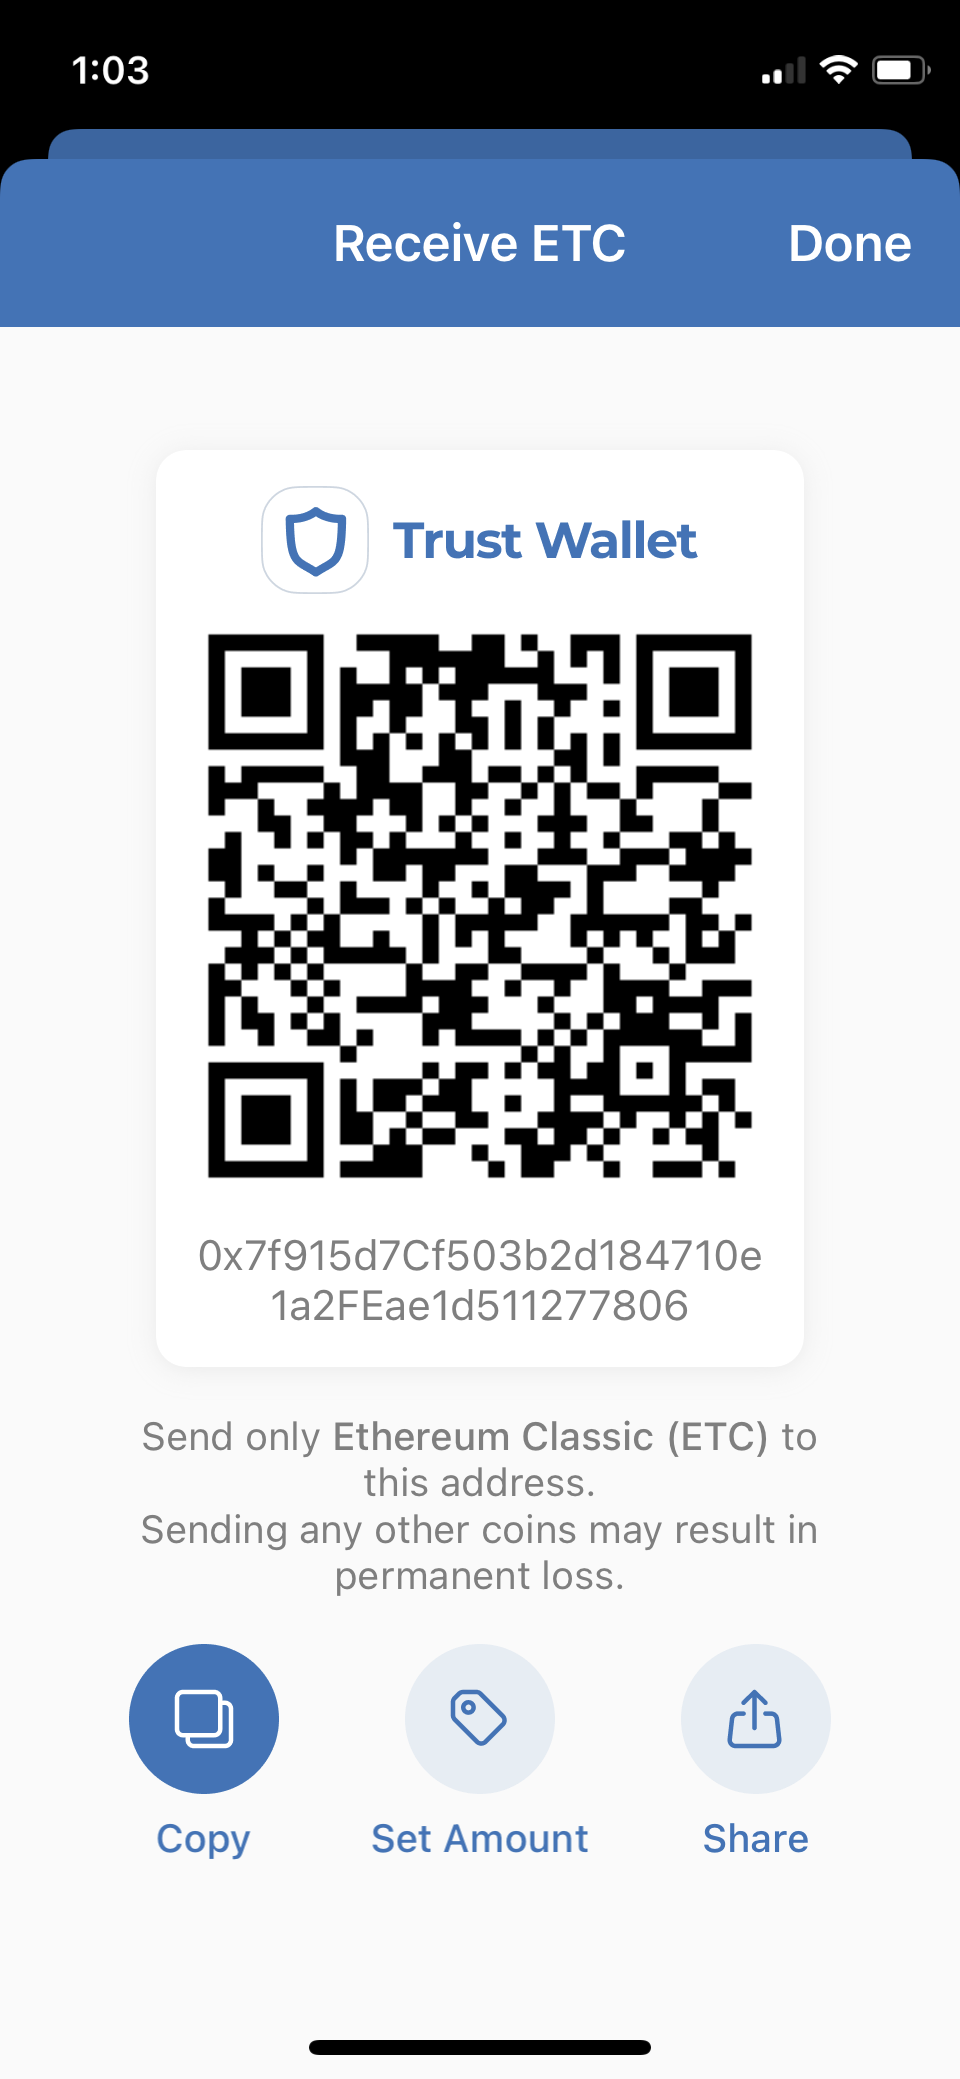
When you press the “Receive” option, you will see a QR code so you can show it to others to send you ETC.
The other options are:
“Copy”: Where you can copy your public address to paste on another app or page.
“Set amount”: Where you can provide the information of your public address and a set amount of ETC you want to receive from another party.
“Share”: Where you can actually share your public address through a messaging app, email, or other apps on your phone.
16. Send ETC.
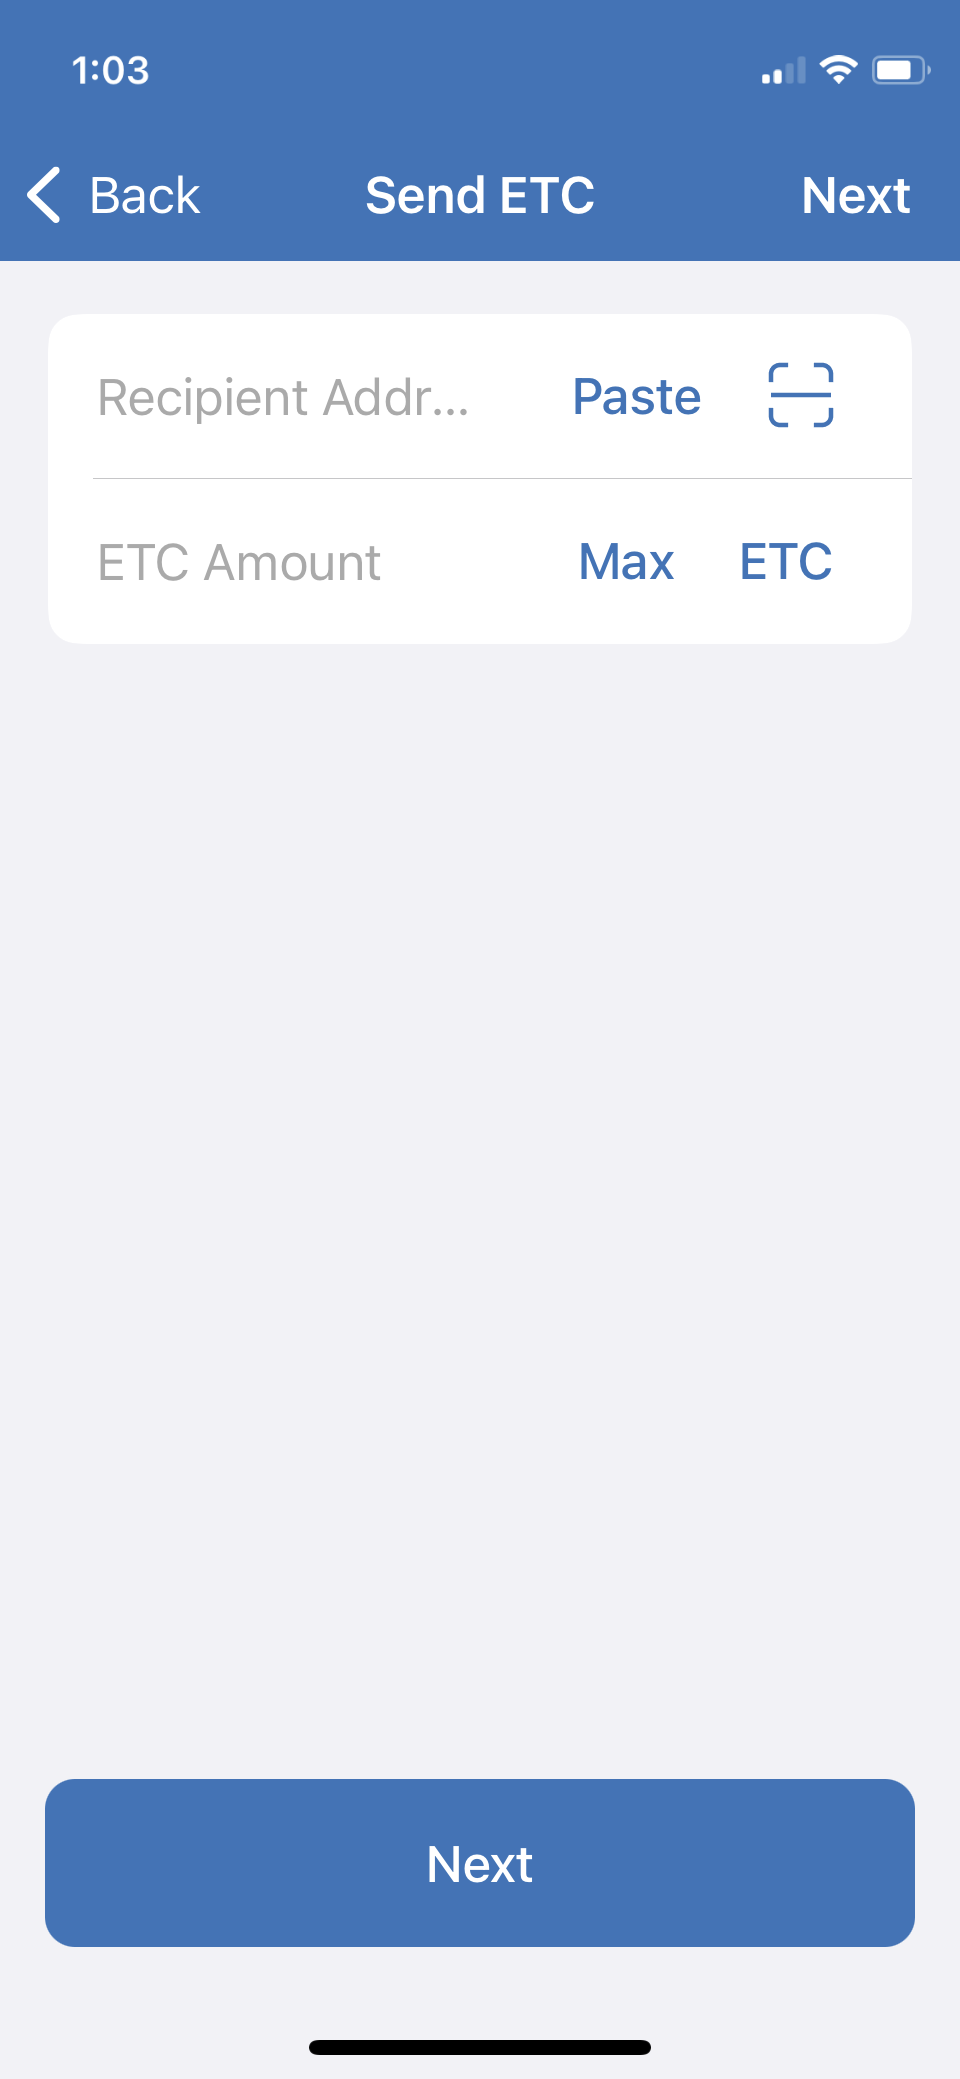
When you press “Send” instead of “Receive” in the ETC page, then you will see the options to enter a public address from another party to send them ETC.
You have the option of copying and pasting an address or to use your camera to capture a QR code with an ETC address.
The second section is where you can enter the amount of ETC you want to send or just press “max” to send all you have in that particular account.
In the next steps you will be able to reconfirm the address and amount to make sure you are doing it correctly.
Now you have created a new wallet on Trust Wallet with Ethereum Classic as one of your selected assets!
Importing an Existing Wallet With a 12 Word Passphrase Into Trust Wallet and Using It With Ethereum Classic
If you lost your phone and Trust Wallet app and you backed up your 12 word passphrase, then you can use the “I already have a wallet” option on the app to restore your original wallet with all your crypto again.
1. Download Trust Wallet and open it as before.
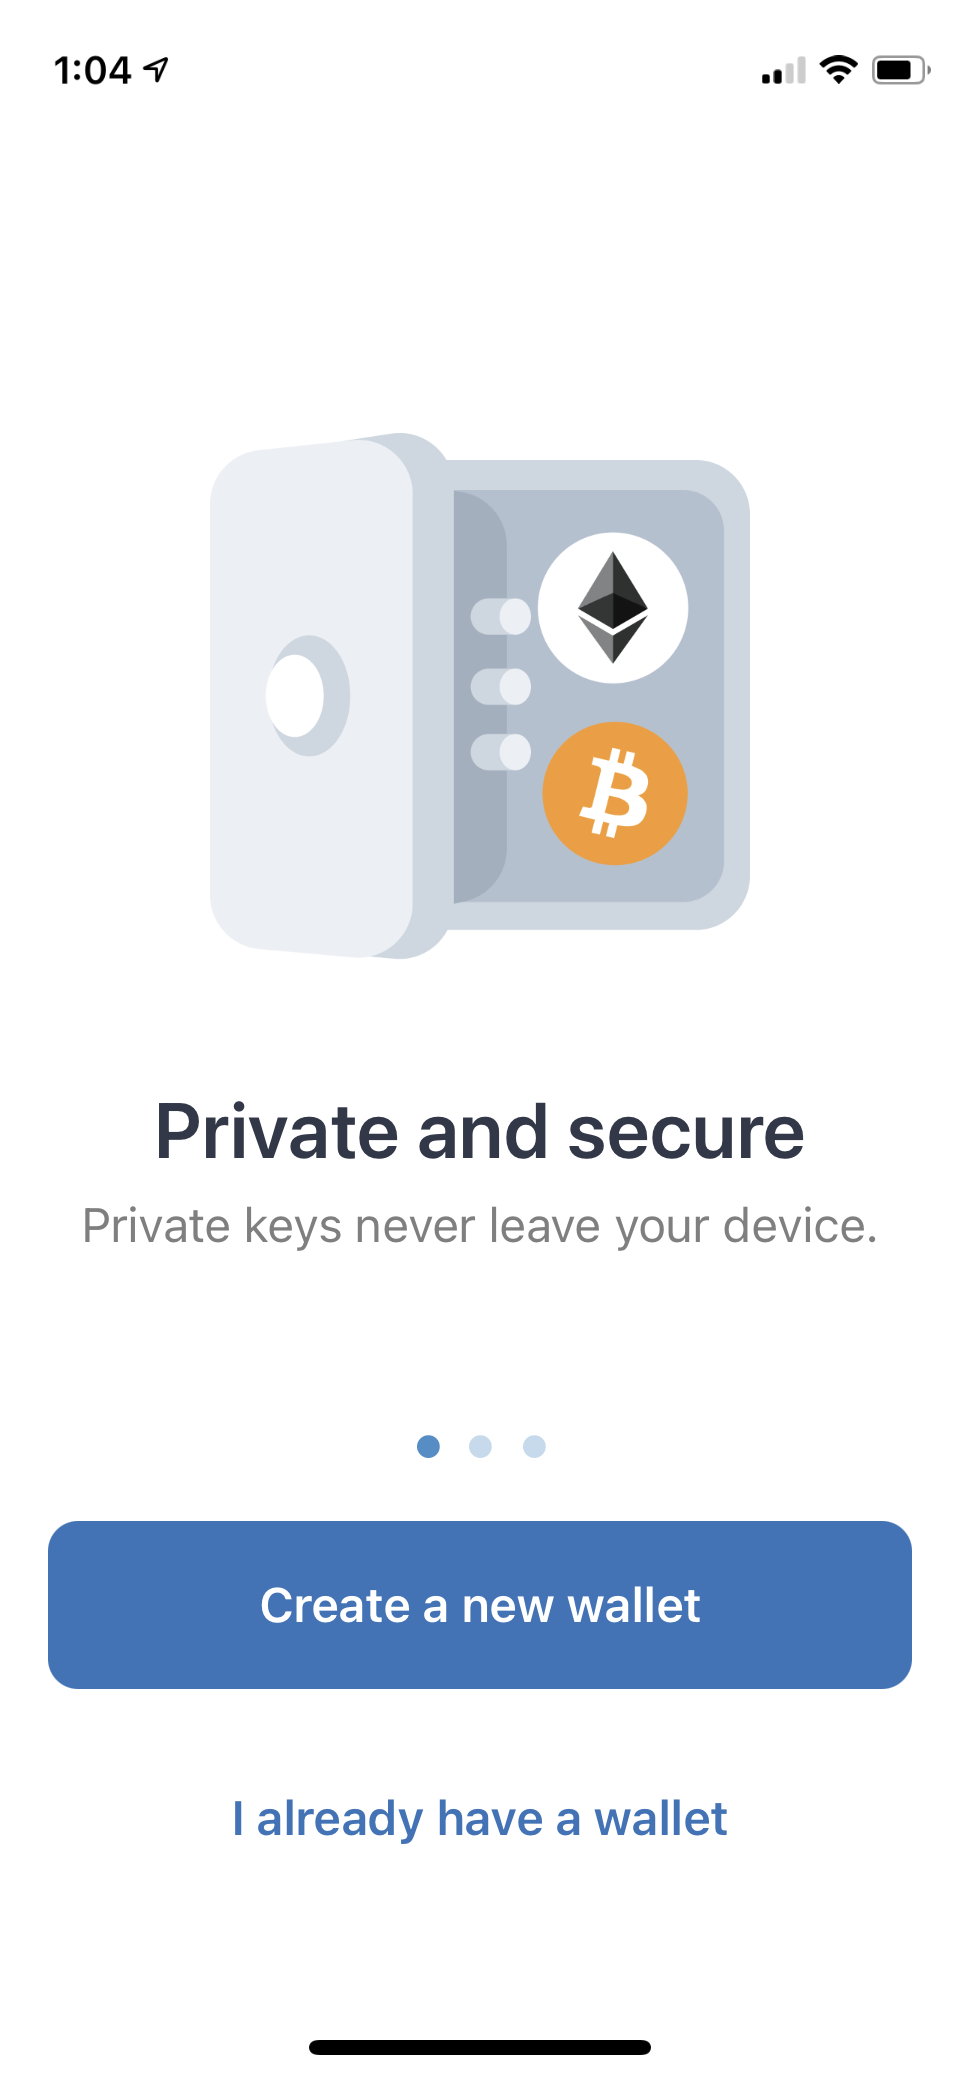
After downloading and opening your new Trust Wallet, press on the “I already have a wallet” instead of “Create new wallet”.
2. Select Multi-Coin Wallet.

To restore all your crypto assets, press on “Multi-Coin Wallet”.
Note: If you just want to selectively restore the accounts for specific assets, then just select the ones you are interested in. In this example we will restore a multi-coin wallet.
3. Enter your backed up 12 word passphrase in the correct order.
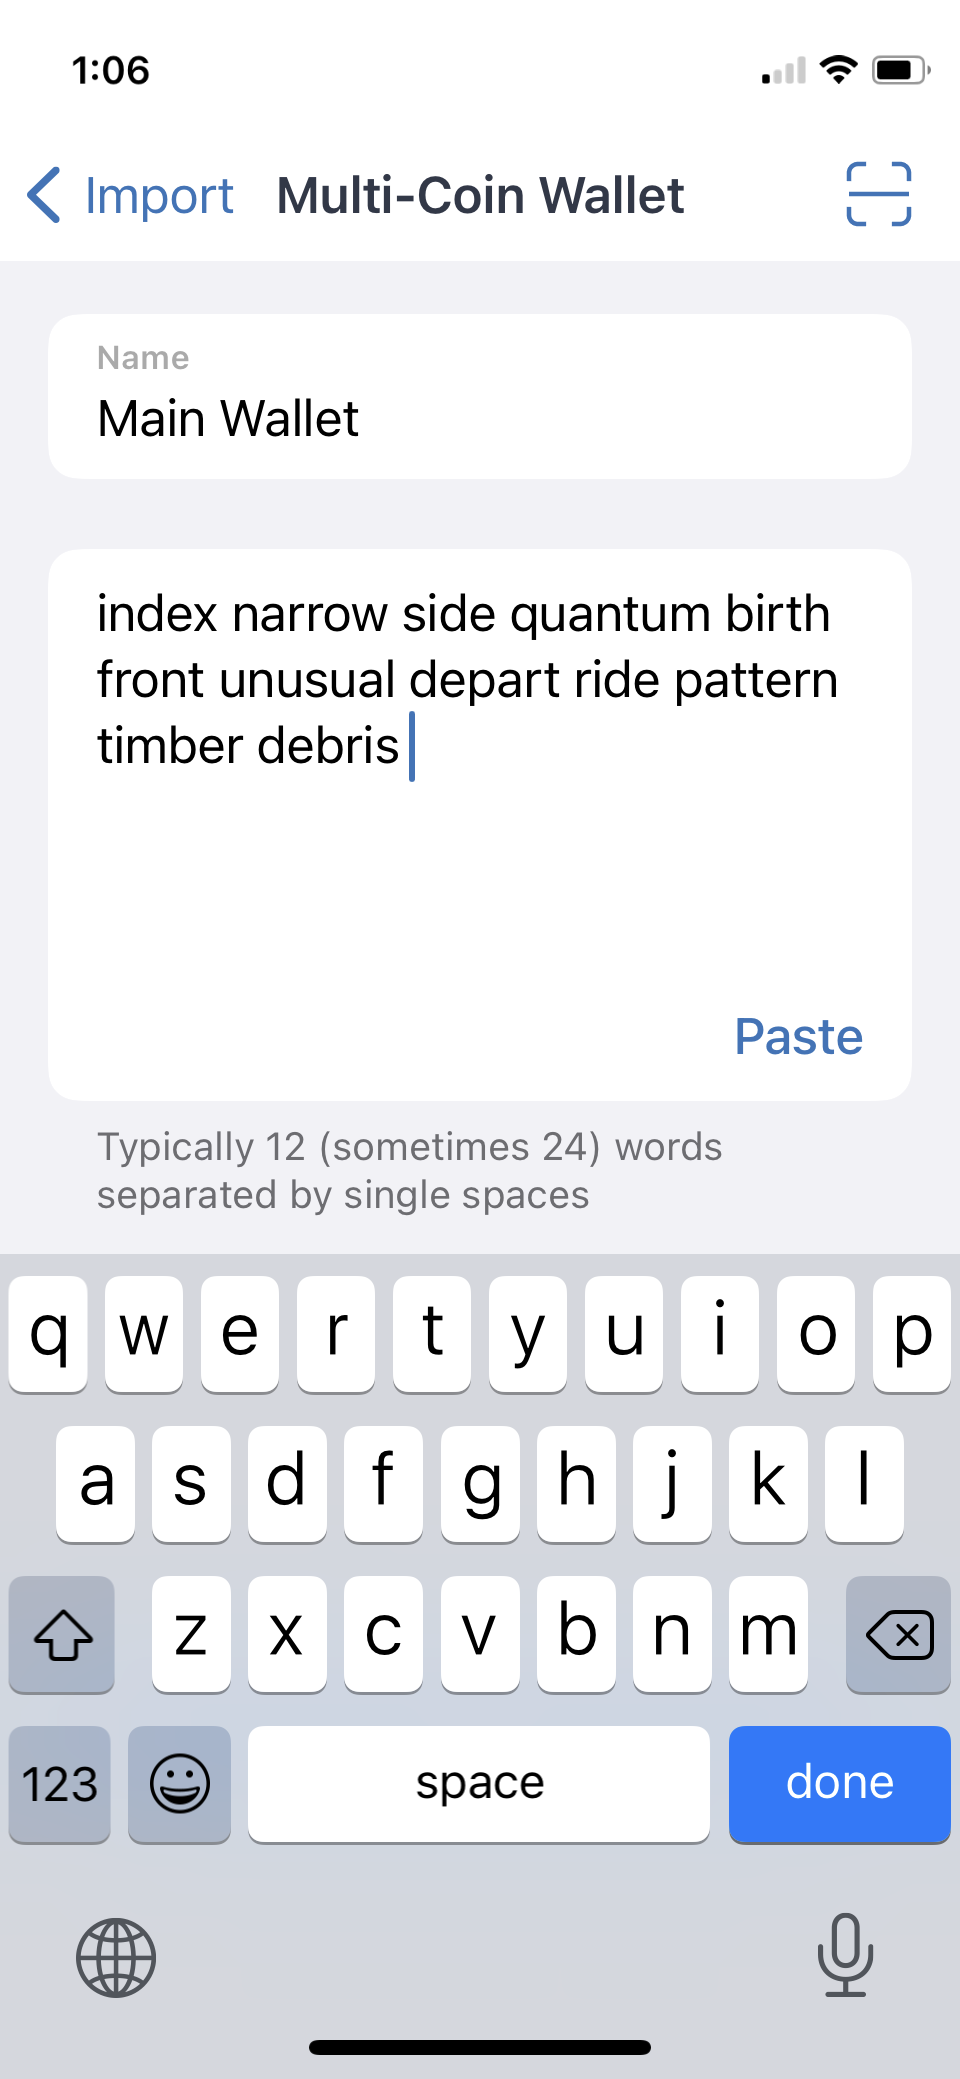
You will see the name of the wallet you are uploading or you can change the name if you want.
In the space provided next, enter manually the 12 words of your secret passphrase in the correct order.
Note: This time, the app does not know what is the correct order, so if you enter it correctly it will automatically re-generate all your accounts as before, but if you enter any mistake in a word or their order, then it will generate a totally different set of accounts, so you will have to start again.
4. Import your wallet.

Carefully verify again that the words and their order is correct. If so, then you can press the “Import” button and your accounts will be re-generated.
5. Your wallet is imported!

You will see happy message telling you your wallets was imported.
Press “OK” to see your assets.
6. See your imported wallet home.
You will see the default crypto assets again, so to personalize your list you can go to the top right menu again to select Ethereum Classic as in step 11 above.
Excellent Choice!
Congrats! Now you have created or imported your Trust Wallet and you set ETC as one of your assets on it, great choice!
You are ready to use Trust wallet with Ethereum Classic!
Major Security Rules to Live By
The most important thing to know is that your 12 word passphrase is what is transformed into your private keys per asset on your Trust Wallet when you load them.
This means that if you lose your phone with your Trust Wallet app and do not have the 12 word passphrase, then you WILL NOT BE ABLE TO RECOVER your accounts and thus lose all the crypto in your Trust Wallet.
The 12 word passphrase CAN be used in other wallets that support the 12 word passphrase format, such as MetaMask.
Because your 12 word passphrase IS the private keys of all your assets on Trust Wallet, then you should follow these rules:
-
- Write you 12 word passphrase on PAPER ONLY.
- Do not do a screenshot of your 12 word passphrase.
- Do not save your 12 word passphrase into iCloud, Google Drive, Dropbox nor any cloud file storage service. They can see your passphrase!
- Again, write you 12 word passphrase on PAPER ONLY.
Once you have your passphrase written on paper then you can think of making paper copies or where to store your 12 word passphrase. That is up to you and your personal “opsec“!
Disclaimer: Donald McIntyre is an Ethereum Classic investor and active community member. This is not financial advice. This is not security advice. Do your own investment and private key security research to buy and keep your cryptocurrencies safe.
Code Is Law